Saturday, May 16, 2015

Book Clubs

Book Clubs are a great way to get kids reading new books and interacting with others to talk about books. Here's how I set my 5th grade Book Clubs up this year.


First I divided my students into groups based on reading levels and book interests.  Each group chose the book that they would like to read as a group.  My book sets are leveled based on Fountas and Pinnell and sorted into plastic tubs, so it's easy for kids to peruse the titles and make their selection. Below are some examples of some of the books they chose for their Book Club groups.

As you can see, students chose a wide variety of books!  I loved going to each Book Club and hearing about their books!

Next, we went over the book club expectations and I gave each group a calendar so they could plan out how much they would need to read each day.  As a group, they had to decide if they needed to break up their reading time into chapters or pages.  They also had to decide if they would need to read at home during the week or on weekends to meet their book club goals.  Below is an example of the planning sheet.


On the back of their planning sheet, I added a Book Club Participate Grade page.  Every student began with 100 participation points.  If a student is off task during Book Club time, then I made an "X" in one of the boxes to indicate that a point had been deducted.


At the beginning of each class period, students met with their book club groups to decide what needed to be accomplished for the day and review what happened in their books previously.  This usually took about 5 minutes.


Then, they got busy reading their assigned pages or chapters for the class period.  I usually gave them about 30-40 minutes to read in class.


As students read, I encouraged them to use post-it notes to make reading connections and make notes of things they wanted to discuss with their Book Clubs.  Here's an anchor chart they used as a reference.  I kept a pile of post-it notes in the middle of each table.


After reading, students met in their book club groups to discuss what was read.  I put a few discussion points on the Smartboard.


I also put up a few anchor charts students could refer to as they met with their groups.

This chart was inspired by the Lucy Calkins Reading Units featuring book clubs.

While students were in their Book Club groups, I visited with each table to listen in on their conversations.  I would sometimes ask the members, "What's going on today with _______?"

I found this chart idea on Pinterest.
After about a 10 minute discussion time, students completed their Book Club Assignment Sheet.  Here's an example of The BFG Book Club's work.


For this assignment, students picked an interesting vocabulary word.  I put dictionaries in the middle of each table so students could use them to look up the definitions of these words.


So, that's how we did Book Clubs in my 5th grade class this year!  I kept it simple and easy and it was very manageable! How do you do Book Clubs in your classroom?  Please share your great ideas in the comments section!  We'd love to hear from you!

Saturday, May 9, 2015

Nonfiction Flipbooks- Kids Become the Experts!

The culminating project for our nonfiction unit was for students to create a flipbook with information about a nonfiction topic. Students chose their own topic, read and researched, then created a flipbook to share with others.  With this project, my students became the experts!

Flip books are easy to make.  For this one, I just folded three sheets of construction paper.  Just be sure to layer them so you get about an inch for the "flip".  Then staple at the top.  Students write their subheadings on each of the flips.  When the paper is flipped up, students can write their informational paragraphs and draw illustrations.

Here's the assignment sheet that I gave students:


Students had a choice on what topic they wanted to research.  I just asked them to choose something that they were NOT already an expert on.  Once a topic was chosen, I had students gather up their resources in the library- whether it was a book, encyclopedia, or other informational resource.

Flipbook Projects included:

  • Title page with author's name (they are the author!)
  • Table of contents
  • 4 pages with subheadings, information in paragraph form
  • 4 nonfiction text features (photos with captions, illustrations, diagrams, charts, side bars, text boxes or bubbles, charts, bold or italicized words, glossary, etc...)
Here are some examples of some of the projects (I wish I could show them all to you!):


As you can see, there were a wide variety of topics!  After researching and creating their flipbooks, students truly became the experts.  In fact, we all learned something new!

Book Fair - A Celebration of Favorite Books!

Last spring, I did a Book Fair with my fifth grade students.  It was a huge success.  The kids loved making the project boards.  The project incorporated reading skills, writing skills, and creativity.  Plus, after projects were completed and displayed, kids in all grade levels could get ideas for their summer reading!  So, this year I collaborated with my fouth grade teacher friend and we did a 4th and 5th Grade Book Fair. We had about 200 projects on display in our library.  It was awesome!


For the project, students choose their favorite book they have read this year and create a Book Fair Project.

Here are the components that were required:
  • Book title, author, publisher, and copyright date.
  • Setting
  • Main Characters and descriptions
  • Plot Summary
  • Conflict
  • Resolution
  • Tone or Mood
  • Author's Purpose
  • Genre
Students could add in extra things such as:
  • Theme
  • Author's biography
  • Photos or other visual aids
  • Book / movie comparisons 
  • Book review
  • Etc... (Really, the sky is the limit!  Or whatever will fit on the board!)
The best part of this project is that kids use their creativity when designing their board.  Kids used all sorts of things to decorate their board and they were all different, yet fantastic!

When I introduced the project, I sent home a letter to parents explaining the project guidelines, including due dates and links to project examples.

Here's the Book Fair Project Planning Sheet I had the kids use as a rough draft.


And now for some of the great projects!  I wish you could see them all!  Here's a small sampling of the fifth grade projects.


Once all the projects were on display in the library, I created a Book Fair Scavenger Hunt where students could have a chance to peruse the projects on display and look for certain projects that contained...a book that has an animal as a main character, a book that's purpose is to inform, a book that is set in a magical place, etc... My students loved this scavenger hunt.  It gave them time to look at and enjoy the projects, plus reinforced the skills that were taught during this project.

This project could be adapted for any grade level.  It's fun, engaging, and gets kids thinking (and hopefully, reading) some great new books! 

Saturday, April 25, 2015

Postcards Across America!

One of my most favorite projects that I did with my fourth grade class several years ago was a "Postcard Project" to learn about the regions of the United States.  It was so much fun!  My students got so excited when a new postcard would arrive in the school mail.  Our goal was to make sure we received a postcard from every single state.  As I discussed the project with students, we talked about the states that might be hard to get.  Really, there was no need to worry!  As we began brainstorming, one student mentioned he had an aunt who lived in Hawaii.  Someone else knew someone from Alaska.  Someone else had a Grandma and Grandpa that were on vacation in another state we needed.  The project became a game to my students.  As postcards poured into our classroom, we'd see which ones we had and which ones we still needed.

Here's one of the bulletin boards that I made to display some of the postcards we received.


When I launched the project, I sent home a note with students (see example below).  The note explained the project and gave the address of where to send the post cards.  In addition, I sent the note via email so parents could forward it to their relatives and friends who lived in other states.  To gain even further attention to our project, I posted a note on my Facebook page so my friends and relatives could participate.  The outpouring of support was amazing!


Every time we got a postcard in the mail, we read the postcard, looked at the pictures, and shared what we knew about that particular state.  We identified the region of the state and the state's capital city.  Then a student would locate the state on our class map and put a push pin to indicate that we had received a post card.  Below is our class map with push pins and more of our postcard collection!  My students were obsessed with checking this map!  They were determined to make sure we got all 50 states!


One day we got all of these post cards in the mail!


We got so many postcards that I added another bulletin board to display them all.  The support we received from relatives of our students and the community was incredible.  We ended up getting a postcard from every single state!  We tracked the number of postcards received from each state in a bar graph.  So, not only did we tie in Social Studies to our postcard project, but math too!


After the project was over, I gave the postcards to all of my students.  They got to pick out their favorites as keepsakes.  If the postcard was from someone they knew, then they got to keep that one.

With this fun project, they learned so much about the United States (and I did too!).


Thursday, April 23, 2015

Roasted Baby Brussels with Garlic Aioli Dipping Sauce

I've had a bag of Brussels sprout in my fridge for the past week and have been contemplating how to prepare them.  Recently, I've had great success with roasting veggies.  It's easy to do and the veggies always come out delicious.  So,that's what I decided to do with these baby Brussels tonight.  I made a double batch so I'd have some Brussels sprout left over for snacking and as a side dish for a meal tomorrow night.  Oh, and here's a little FYI, did you know you're supposed to say Brussels sprout, not Brussel sprouts??  I learn something new every day!


Here's what you'll need:
1 bag of baby Brussels  (The bag I bought from Sprouts was 1.5 pounds)
Extra Virgin Olive Oil
Sea Salt
Pepper
1/4 cup mayonnaise
1 teaspoon minced roasted garlic
1 tablespoon lemon juice


Here's what to do:
Preheat your oven to 400 degrees.

Prepare your Brussels sprout by rinsing them with water. Remove the outer leaf and cut off the hard end. Then cut the Brussels sprout in half.


Place Brussels sprout evenly on a baking sheet.  I like to line my baking sheet with parchment paper.  It makes for easy clean up!  Drizzle extra virgin olive oil.  Then sprinkle with sea salt and pepper.


Bake in a 400 degree oven for 15 to 20 minutes.  While Brussels sprout are cooking, mix together mayonnaise, roasted garlic, and lemon juice to create the aioli.
.

The next time I make this, I might add some crumbled bacon when roasting.  Everything tastes better with bacon, right?

If you have leftover aioli, just refrigerate it in a sealed container.  If you would prefer to drizzle the aioli, just add a little more lemon juice to thin it out.  It would look pretty too!

Enjoy!

Monday, March 30, 2015

Bill of Rights Made Easy!

Memorizing the Bill of Rights is hard!  In fifth grade, students must know all about them.  In searching for something to help my students, I stumbled upon this video, "Learn the Bill of Rights Finger Tricks" on YouTube.  Credit goes to Katie Loftin who uploaded the video.  It's a great visual and tactile way for students to remember all the important points of the Bill of Rights.  I  used it with my fifth graders and they loved it.  We practiced with it every day for a few weeks.  I started by showing the video so they could see the finger tricks.  Eventually, we'd practice without the video.  Sometimes I would tell them the amendment and they'd show me the finger trick.  Then I would switch it up and show them the finger trick and they'd tell me the amendment.  In just a few weeks, they had the Bill of Rights memorized!

Click on the link to watch the video:

Bill of Rights Finger Tricks Video

Here is the a short description of each amendment, along with a photo and description of each finger trick.

Amendment 1
The First Amendment protects the rights of every American.  It covers the freedom of religion, speech, and press. Basically, Congress can't make any law about your religion, or stop you from practicing your religion. The government can't keep you from saying whatever you want, or publishing whatever you want (like in a newspaper or a book). And finally, Congress can't stop you from meeting peacefully for a demonstration to ask the government to change something.   
The finger trick is to put your finger to your mouth like you are "shushing" someone.  It represents freedom of speech.   


Amendment 2
The Second Amendment guarantees the right to bear arms, or own guns.  Congress can't stop people from having or carrying weapons, because we need to be able to defend ourselves.
The finger trick is to form an imaginary weapon with your fingers.  I just make sure students understand this is to represent this particular Bill of Rights and not a symbol they should use otherwise.  I usually have them put their hand straight up in the air instead (like a pistol used at the beginning of a race), so it never points at anyone.


Amendment 3
The Third Amendment prevents the government from forcing citizens to shelter soldiers in their homes.  In other words, you don't have to let soldiers live in your house, except if there is a war, and even then only if Congress has passed a law to enforce it.
The finger trick is to put up three fingers to represent "three's a crowd".  


Amendment 4
The Fourth Amendment protects the privacy of American citizens.  It prohibits unnecessary or unreasonable searches of a person's property.  In other words, nobody can search your body, or your house, or your papers and things, unless they can prove to a judge that they have a good reason to think you have committed a crime. In this case, the government would need a search warrant. 
The finger trick is to put your hand into a fist like you are knocking on a door to go into someone's home to do a search.

Amendment 5
In Amendment Five, all Americans are guaranteed the right to a fair and legal trial.  This amendment also protects someone from testifying against him or her under oath in a courtroom.  In other words, you can't be tried for any serious crime without a Grand Jury meeting first to decide if there's enough evidence for a trial. If the jury decides you are innocent, the government can't try again with another jury.  This is called "Double Jeopardy". You don't have to say anything at your trial.  It's informally called, "pleading the fifth". You can't be killed, put in jail, or fined unless you were convicted of a crime by jury.  The government can't take your house, farm, or anything else unless they pay for it.
The finger trick is to cover your mouth to show that you aren't going to say anything.  This represents "pleading the fifth".  Plus,  you are using five fingers to cover your mouth.  


Amendment 6
The Sixth Amendment is the right to a speedy trial.  If you're arrested, you have the right to have a trial very quickly. The government can't keep you in jail without a trial.  The trial has to be public, so everyone knows what is happening.  The case has to be decided by a jury of citizens from the area in which you live. You have the right to know what you are accused of which are called the "Miranda Rights".  You have the right to see and hear the people who are witnesses against you and to have the government help you get witnesses on your side.  You also have the right to have a lawyer appointed to you if you cannot afford one.
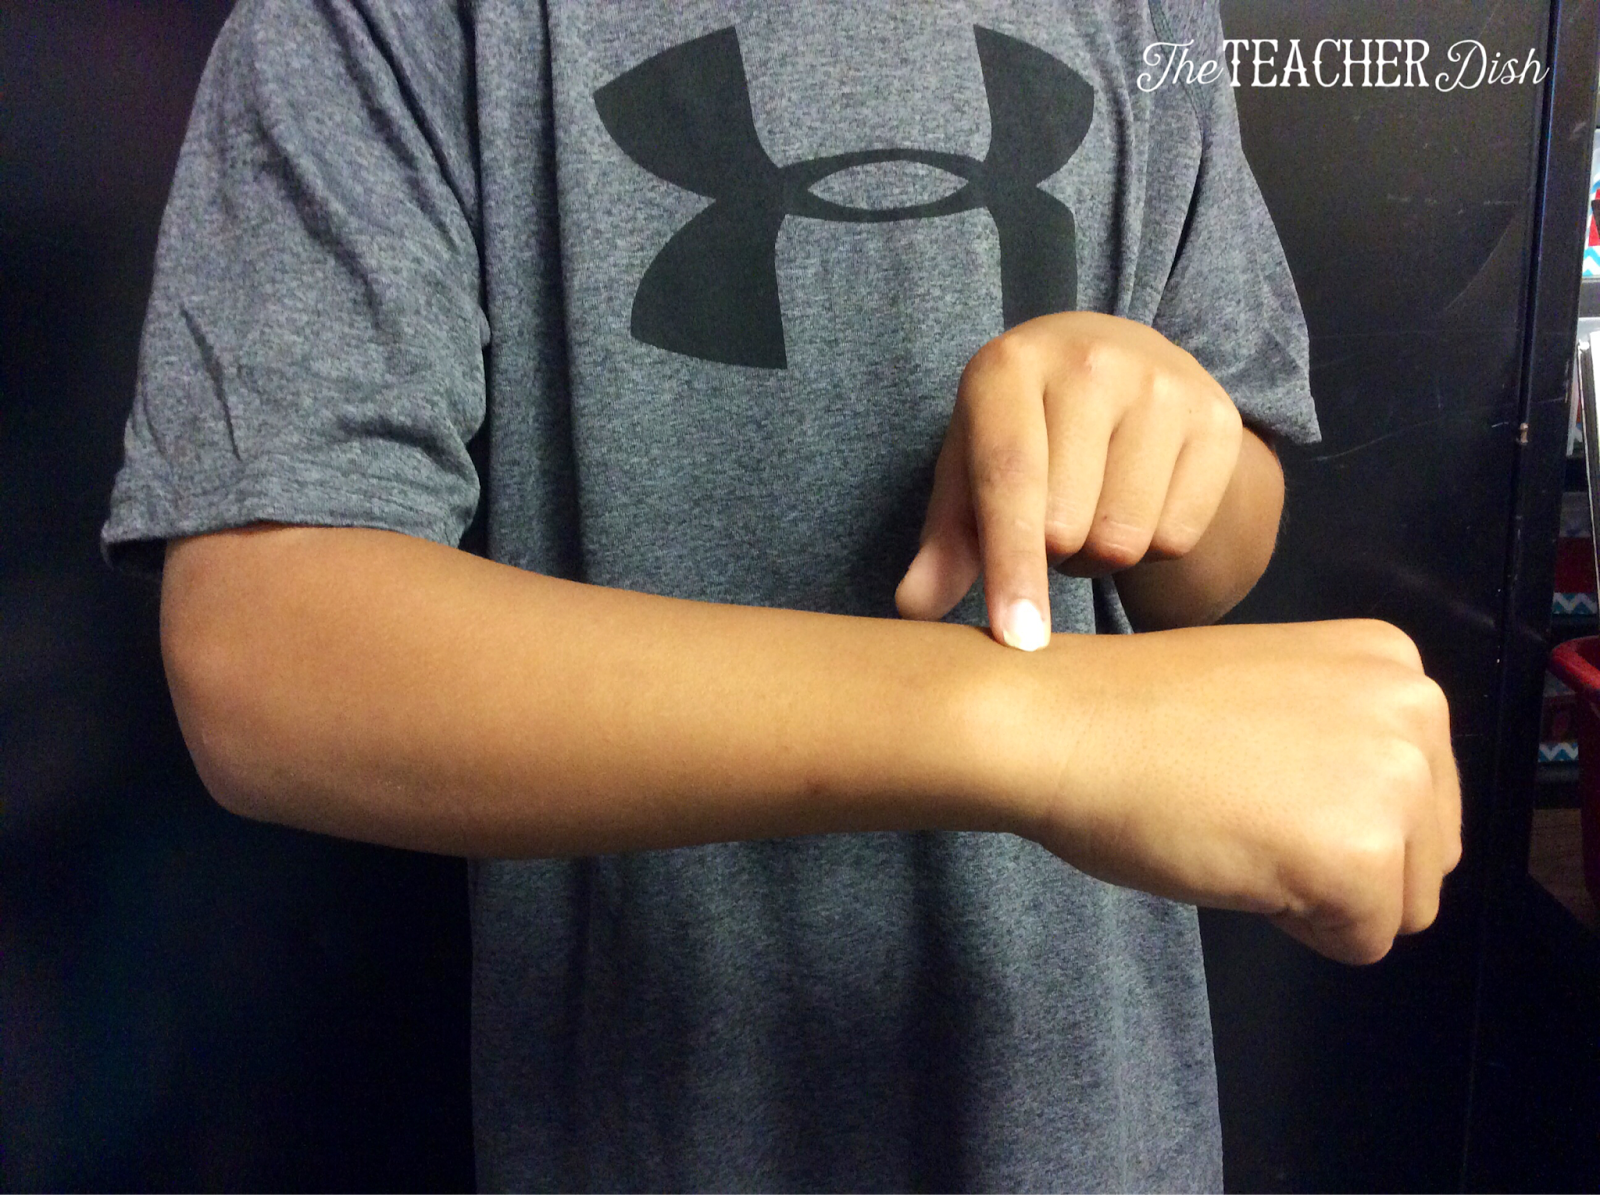
The finger trick is to point to an "imaginary watch" to represent the right to a speedy trial.  


Amendment 7
The Seventh Amendment guarantees the right to a trial by jury in civil, or private legal cases where the damages are more than twenty dollars. A civil case is a law case between two citizens rather than between you and the government.  
The finger trick is to hold up two fingers on one hand and then hold up all the fingers on your other hand (which makes 7 to represent this amendment).  Then close the fingers in the hand where you are holding up all fingers into a fist.  It is supposed to loo like a 2 and a O which represents legal cases with damages more than 20 dollars.


Amendment 8
The Eight Amendment states that unreasonable bail or fines and cruel and unusual punishment are prohibited. In other words, the government can't make you pay more than is reasonable in bail or in fines, and the government can't order you to have cruel or unusual punishments (like torture) even if you are convicted of a crime.
The finger trick is to put your hands out like you are being handcuffed.  It represents cruel and unusual punishment.

Amendment 9
The Ninth Amendment recognizes that Americans have rights that are not listed in the Constitution.  Just because these Bill of Rights are listed in the Constitution doesn't mean that you don't have other rights too.
The finger trick is to hold up five fingers on one hand, and four fingers on the other hand.  This represents the Ninth Amendment.  


Amendment 10
The Tenth Amendment states that the powers not given to the United States government  by the Constitution belong to the states or the people.  In other words, anything the Constitution doesn't say that Congress can do should be left up to the states, or to the people.
The finger trick is to hold up all your hands and fingers like you're "raising the roof".  I always have my students say, "Power to the people" when they do this.


Do you have any special tricks for teaching / learning about the Bill of Rights?  Please share your ideas in the comments section. Thanks!